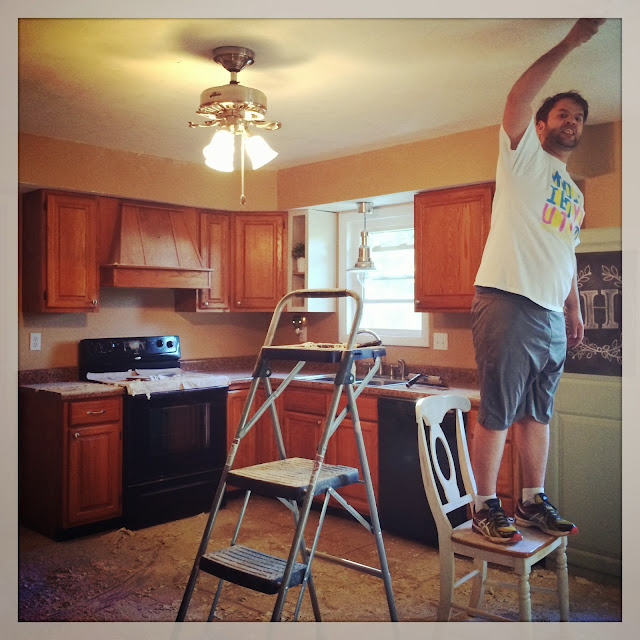
It will pay off...patience always pays off.
These are the things I tell myself when I feel like this one will never be done and we're living in chaos.
When we bought our house (a year ago this month!) it was tan-tastic. Every.Single.Room. I do believe the previous owners must have gotten a great deal on tan paint. Its not a terrible color. Just a little much considering it covers every surface of this house.
I unknowingly dove head first into making my bright, clean kitchen. And it all started with my Ikea Ottava pendant light.
After hanging the light, I decided the wooden piece connecting the cabinets had to go. But first wanted to try scraping the popcorn texture off the soffits. I figured I would start behind the wood piece so if i made it look terrible, I could leave it up.
Terrible it did not look.
So I went ape on the popcorn and scraped it off the rest of the soffit. Super easy, SUPER messy. But with great pay off.
Spray with water, let it sit for a minute (or 30 seconds if you're as patient as I am) then scrape with a putty knife. I ended up taping the top of the cabinet doors shut because the texture was falling behind the door.
It does need to be said, if your ceiling was textured before 1980 it could contain asbestos. And you could end up on one of those day-time 1-800-lawyer commercials. So check into that before you want to sue me!
After I decided that mess was manageable I wanted to scrap the whole ceiling. Now, if your previous home owners hate you like mine did, they will paint over the popcorn on the ceiling. It. Sucked. That process required a little more muscle, and a lot more patience (and a shop vac!).
I had to dry scrape it to knock some popcorn off (so the water could seep in), then spray with water and scrape the rest. Follow that up with spackle and sanding wherever you accidentally gouge the ceiling. Enlist happy husband whenever possible.
Painting the ceiling next would be logical but this project took me right up to Christmas. Since my parents were in town for the holidays, I decided to take advantage of my Dad's handiness and my new miter saw (woop! woop!).
I painted the wall just enough to attach the crown molding.
Everything went super smooth until we reached the 45 degree angled wall.
That took a bit of head scratching, and calling in a reinforcement.
Then he called in a reinforcement (love having profession construction guys as friends as well as a church family that cares about the small details of our life!) It all made sense!
I now totally get it. My 90 degree angles I used Sawdust Girl's template method (the crown lays flat on the saw).
When our professional friend came to help us out, he told me to hold my crown on the saw how it will fit on the ceiling (35 degree angle).
That made the 45 degree angle super easy by cutting two 22.5 degree cuts. Duh! (Palm to forehead). Hey, I'm learning!
I ran some ½ x 1" pine strips along the soffits. The goal is to make them blend in with the cabinets. When the cabinets are painted (gasp!) the soffits will be painted the same color.
The walls are painted Olympic's Whispering Wind in an eggshell finish.
So that brings you up to date on the longest kitchen makeover ever. (Not counting the total gut jobs!) If you need me, I'll be wood filling, sanding, and painting until my fingers are little tiny nubs.
Enjoying my beautiful mess!
.:Tanya:.


Hi! This is just what I was looking for! Can I see a picture of the cabinets and soffit after you painted?
ReplyDelete